Is your toilet making strange noises, or does it take forever to fill up after a flush? You might be dealing with a faulty inlet valve. Fortunately, replacing an inlet valve is a manageable DIY task that can restore your toilet’s performance and save you money on water bills. In this guide, we’ll walk you through the steps to change an inlet valve for your toilet.
What You’ll Need
Before you begin, gather the following tools and materials:
- New inlet valve (ensure it’s compatible with your toilet)
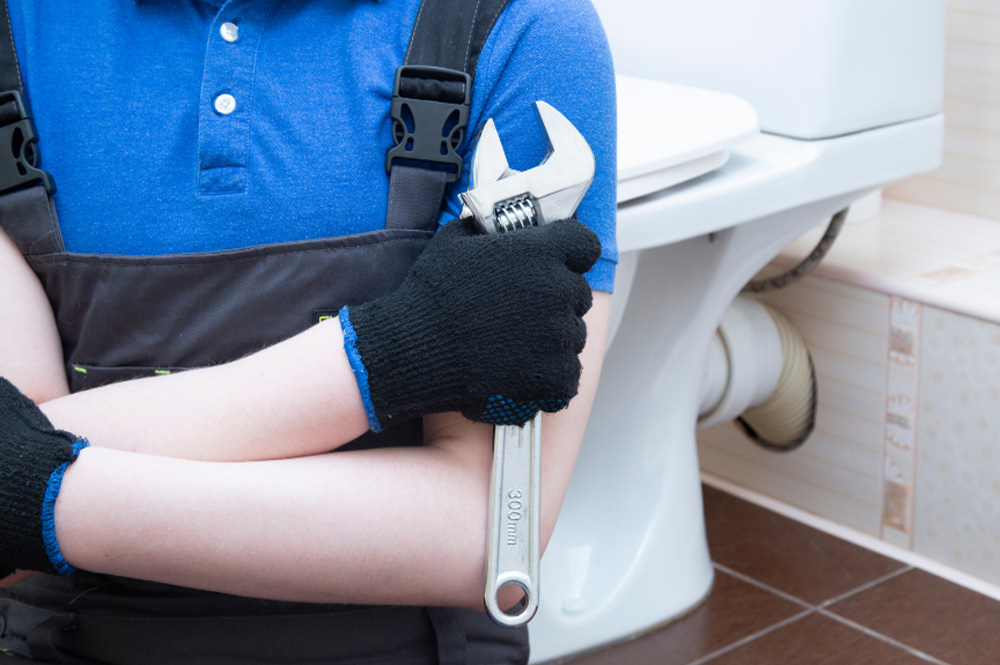
- Adjustable wrench
- Screwdriver (flathead and Phillips)
- Bucket or towel
- Plumber’s tape (optional)
Step 1: Turn Off the Water Supply
Start by locating the shut-off valve behind the toilet. Turn it clockwise to stop the flow of water. To relieve any remaining pressure, flush the toilet and hold down the handle to empty the tank.
Step 2: Drain the Tank
With the water supply off, it’s time to drain the tank completely. Remove the tank lid and set it aside carefully. Then, use a sponge or towel to soak up any leftover water in the tank. A bucket can also be used to catch any excess water.
Step 3: Disconnect the Water Supply Line
Next, locate the water supply line connected to the inlet valve at the bottom of the tank. Using an adjustable wrench, carefully loosen the nut connecting the supply line to the inlet valve. Be prepared for a little water to escape, so have your bucket or towel handy!
Step 4: Remove the Old Inlet Valve
Once the water supply line is disconnected, it’s time to remove the old inlet valve. Look for the locking nut that secures the valve to the tank. Use your adjustable wrench to loosen and remove this nut. Once removed, you can pull the inlet valve out from the bottom of the tank.
Step 5: Install the New Inlet Valve
Take your new inlet valve and insert it into the hole at the bottom of the tank. Secure it in place by hand-tightening the locking nut. Make sure it’s snug, but don’t overtighten it, as this could crack the tank.
Step 6: Reconnect the Water Supply Line
Now, reconnect the water supply line to the new inlet valve. Hand-tighten the nut first, and then give it a gentle turn with your adjustable wrench to secure it. Be careful not to overtighten, as this could damage the threads.
Step 7: Turn On the Water Supply
With everything connected, it’s time to turn the water supply back on. Turn the shut-off valve counterclockwise to allow water to flow back into the tank. Watch for any leaks around the connections you just made. If you notice any dripping, gently tighten the connections until the leak stops.
Step 8: Test the Toilet
After the tank fills up, check the water level. If your new inlet valve has an adjustable float, you may need to set it to the correct height for optimal flushing. Flush the toilet a couple of times to ensure everything is working smoothly.
Conclusion
Changing an inlet valve for your toilet is a straightforward task that can enhance your toilet’s performance and save you from costly water waste. With a little time and the right tools, you can tackle this job with confidence. At Ohana Plumbing, we’re dedicated to providing expert plumbing services and advice. If you encounter any issues during your DIY project or prefer to leave it to the professionals, our skilled team is just a call away. Contact us today to schedule a service or for any plumbing inquiries! Let us help you keep your plumbing in top shape!


